DESCRIPTION
Everybody has to eat… even your hair! Combining grapeseed oil, known for its deep repair and softening properties, and olive leaf extract that provides deep conditioning and brings out your hair’s natural luster, our
EWG VERIFIED™ Nourishing and Strengthening Shampoo offers plenty of good nutriments to dry and brittle hair. This hypoallergenic, vegan and dermatologically tested fortifying shampoo works wonders to restore damaged hair while promoting a sweet pear and ginger aroma. And for even better results, take it to the next level with our Nourishing and Strengthening Conditioner! Gorgeous hair from root to tip, here you come!
INGREDIENTS
Aqua / water / eau, sodium coco-sulfate, coco-glucoside, vegetable glycerin, sodium cocoyl isethionate, citric acid, panthenol (vitamin B5), glyceryl oleate, cyamopsis tetragonoloba (guar) gum, sodium benzoate, inulin, potassium sorbate, nasturtium officinale (watercress / cresson) extract, tropaeolum majus (Indian cress / capucine) extract, sodium chloride, maltodextrin, moringa oleifera seed extract, vitis vinifera (grape / raisin) seed oil, olea europaea (olive) leaf extract, triethyl citrate*, geranyl acetate*, hexyl salicylate*, hexyl acetate*, alpha-ionone*, *fragrance (parfum).
Our products are constantly evolving, hence, please refer to the product packaging for our most accurate ingredient list.
Please note that our products have always contained fragrances of natural origin (except for unscented products). The only thing that has changed is the way we display this information on our packaging. EWG has requested that we add the term *fragrance (parfum) to our list of ingredients because their internal standard now make it mandatory for companies to indicate which ingredients are part of the fragrance.
USAGE
Shampoo: Apply to wet hair, lather, then rinse. For best results, use it with ATTITUDE Super leaves™ Nourishing and Strengthening Conditioner.
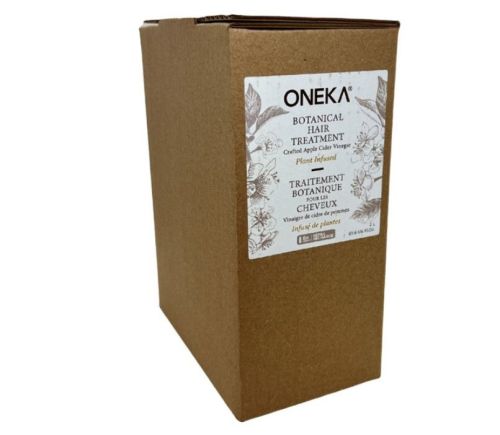
DIRECTIONS-box: To release the spigot, push in the cardboard tab (applying pressure on the inside edges of the dotted area). Pull the spigot out of the opening and push the tab back in to hold it in place. Carefully remove the safety seal from the valve by pulling on the small stem.Lift the two small side handles upward while pressing the upper part of the spigot with your thumb. Make sure that any receptacles you want to fill are clean and dry.